The Raspberry Pi AI Project Nobody Lists: An LLM-Controlled Network Throttle
Most "AI on a Pi" projects try to run a model on the board. I built the opposite: a Pi that shapes network traffic with Linux tc, while Claude turns "add 300ms lag to the PS5" into one structured tool-call. Here's the real architecture, the code, and the physical limits that make it an honest first project.
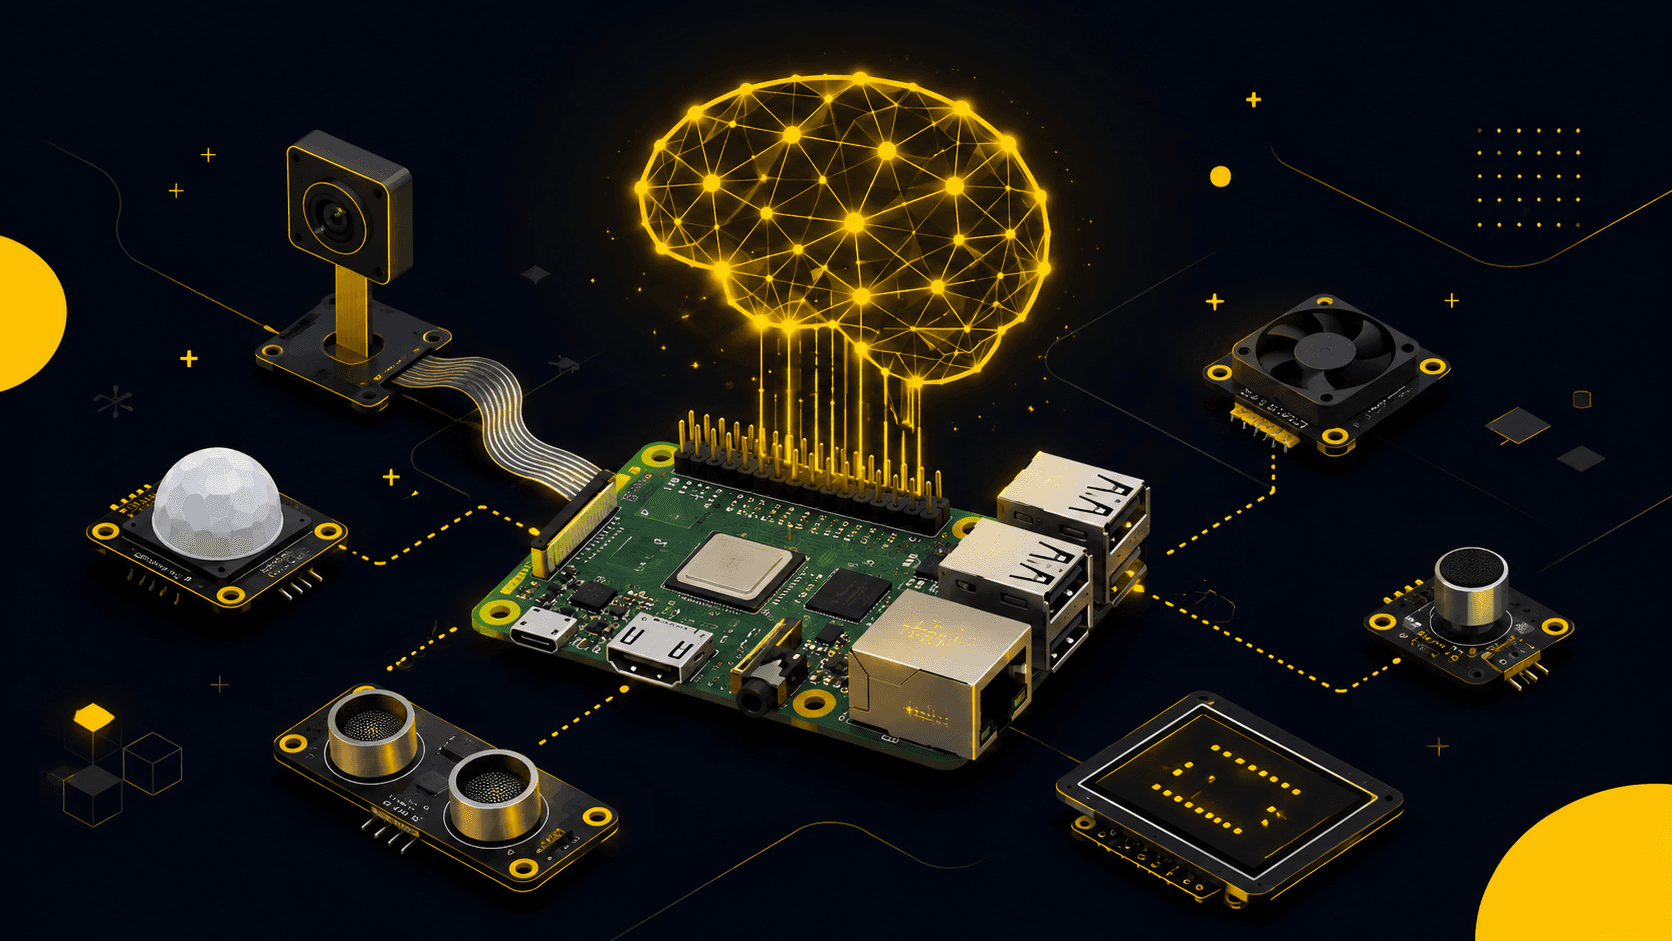
Most "Raspberry Pi AI project" lists point you at the same three things: a camera that names your cat, an offline voice assistant, and a tiny local chatbot. They're fine. But they all share a hidden assumption -- that "AI on a Pi" means running a model on the Pi. I want to show you a different shape, because it's the one I actually built: keep the Pi cheap and dumb, let it do the thing Pis are genuinely great at, and hand the language understanding to a model over an API.
The project is called LagLab. It turns a Raspberry Pi 4 or 5 into a WiFi access point that can throttle latency, bandwidth, and packet loss for every device on your network -- individually. You drag a slider, or you type "add 300ms lag to the PS5 and cap the guest tablet at 2 Mbps" into a chat box, and Claude translates that sentence into real Linux traffic-control commands. It's a good beginner project precisely because it forces you to see where the AI stops and the operating system begins.
One honesty note before we go further: LagLab is a v1 scaffold. I wrote all the code and the design is real, but I have not yet run it end-to-end on physical hardware. So everything below reflects what the architecture and source do by design, not benchmarked runtime behavior. Any number you see is a config value or a UI bound, not a measurement -- I'll flag those as we hit them.
The reframe: don't run the model on the Pi
The instinct with a Pi is to cram the intelligence onto the board. But a Pi 4/5 is mediocre at running a language model and excellent at sitting in the path of your network traffic and reshaping it. So LagLab splits the work along that seam. The Pi spends its CPU on the thing it's good at -- being a router that mangles packets -- and offloads the one hard, fuzzy task (understanding "make the PS5 laggy") to a hosted model.
In the default "AP mode" the Pi becomes your access point. Internet comes in over the wired eth0 port, the Pi broadcasts its own SSID on wlan0, and every connected device routes through it. That physical position -- in the path -- is what makes traffic shaping possible at all. You can't throttle traffic you can't see.
The lesson a chat window can't teach: an LLM tool-call is not magic. It's a JSON blob that you then have to turn into a real system command yourself. LagLab is 20% Claude and 80% Linux tc.
What the AI layer actually is (spoiler: one tool)
Here's where beginners usually imagine something complicated -- some prompt that "parses" the sentence and hopes for the best. LagLab doesn't parse free-form text. It uses Claude's tool-use feature with exactly one tool defined, called set_policy. The model's only job is to fill in that tool's arguments for one device at a time. Everything the model can possibly "decide" is bounded by this schema:
TOOLS = [{
    "name": "set_policy",
    "description": "Apply traffic shaping to exactly one device.",
    "input_schema": {
        "type": "object",
        "properties": {
            "device": {"type": "string"},
            "latency_ms": {"type": "integer"},
            "download_mbps": {"type": "number"},
            "upload_mbps": {"type": "number"},
            "loss_pct": {"type": "number"},
            "prioritize": {"type": "boolean"},
        },
        "required": ["device"],
    },
}]
The backend then walks each tool_use block Claude returns and applies it. The system prompt carries the domain semantics that a schema can't express -- for example, "cut off" or "block" means set bandwidth to a tiny 0.05 Mbps (a config value, not a measurement), and "unblock" or "restore" means set everything back to zero. That's the whole AI surface. It's small on purpose, and that smallness is the point: a constrained tool is far easier to trust than a free-form command interpreter.
The default model is claude-haiku-4-5, chosen explicitly because Haiku is fast, cheap, and more than enough for a mapping task like this. The code documents an option to bump to Opus if you want, but a sentence-to-JSON translation doesn't need it. This is the reframe made concrete: the Pi never sees a model, and the model never sees the network.
Where the real work lives: Linux tc
Once Claude hands back a set_policy call, LagLab has to make Linux actually enforce it. This is the Linux traffic-control stack -- tc with the netem and HTB queueing disciplines -- and it's the part that teaches you how networks really work. For each network interface, LagLab installs one HTB root qdisc with a wide-open default class (rate 10000mbit, effectively unlimited for a home link), then one HTB class per managed device. Each device's class gets a netem child for latency and loss, an HTB rate for the bandwidth cap, and a u32 filter that matches the device's IP into its class.
Here's the core of turning one device into a shaped class -- a netem child for the lag/loss, then a u32 filter steering that device's IP into it:
netem = []
if delay_ms:
    netem += ["delay", f"{delay_ms}ms"]
    if jitter_ms:
        netem += [f"{jitter_ms}ms"]
if loss_pct:
    netem += ["loss", f"{loss_pct}%"]
if netem:
    _tc("qdisc", "add", "dev", iface, "parent", f"1:{classid}",
        "handle", f"{classid}:", "netem", *netem)

_tc("filter", "add", "dev", iface, "protocol", "ip", "parent", "1:", "prio", "1",
    "u32", "match", "ip", match_field, f"{ip}/32", "flowid", f"1:{classid}")
Two design decisions in that engine are worth stealing for your own projects. First, LagLab rebuilds the entire tc ruleset from stored state on every single change, instead of incrementally adding and deleting filters. For a handful of devices that's trivially cheap, and it buys you something valuable: every operation becomes idempotent, and it's impossible to end up in a half-applied state where a filter exists but its class doesn't. Second, because the Pi has two interfaces, both traffic directions are plain egress shaping -- download shaped on the LAN interface's egress (match on destination IP), upload on the WAN interface's egress (match on source IP). That sidesteps IFB ingress redirection, which is the usual headache when you try to shape inbound traffic on a single interface.
The gotchas that make it an honest project
What makes this a good teaching project is that it runs straight into the physical limits of what shaping can do, and the code is honest about them rather than pretending. A few I ran into while designing it:
- You can add latency but you cannot subtract it. There's no way to push a device below its physical baseline ping -- "make it faster" is reframed in the code as removing previously-added lag plus giving that device HTB priority under congestion. A slider that promised negative latency would be a lie.
- Latency is applied on the download lane only. If you added +200ms to both the download and upload lanes, the observed round-trip would roughly double. So a "+200ms" setting deliberately shapes one direction to produce about +200ms of added ping. (That mapping is a documented design choice, not a measured result on my end. )
- IPv4 only, in v1. The u32 filters match IPv4, so IPv6 traffic sails past unshaped. The honest fix noted in the README is to disable IPv6 on the AP or extend the filters -- I didn't want to hide that hole.
- The Pi's built-in WiFi is fine as an AP for a few devices but limits range and throughput; a USB adapter with an AP-capable chipset is the recommended upgrade.
State is keyed by MAC address, not IP -- a small but deliberate call. It means a device keeps its policy even after DHCP hands it a new IP address, and the policy survives a restart because it's persisted to a small JSON file. Device discovery then joins three best-effort sources: the kernel neighbour table for IP-and-MAC pairs, dnsmasq's DHCP leases for hostnames, and an offline MAC-vendor lookup for a friendly label. If any source is missing, discovery degrades instead of crashing.
That graceful-degradation habit runs through the whole codebase, and it's the single most beginner-friendly thing about it. On a dev laptop with no tc installed, the shaping engine reports itself unavailable instead of throwing; scapy is imported lazily so the app runs where it isn't installed; discovery returns empty on non-Linux; and the dashboard still loads in an explicit "preview mode" with warning banners. That's what lets you develop most of this on a normal laptop and only move to the actual Pi at the end.
Why this beats another cat-detector as your first project
The dashboard is intentionally dependency-free -- vanilla JS, a template element for the device cards, an 8-second polling refresh, no framework and no build step. That's a deliberate choice so a beginner can read every line. And the shape of the whole thing is the lesson: the model does one narrow, fuzzy task; the Pi does one narrow, physical task; and you, in the middle, write the glue that turns a JSON tool-call into a tc command that actually changes what packets do.
A camera that names your cat teaches you to call a library. LagLab teaches you where an LLM's output stops being words and starts being a system call -- and it does it on a board that costs about the same as dinner. If you want the fastest possible intuition for how AI agents will actually touch the real world, don't run the model on the Pi. Put the Pi in the path, and let the model just fill in the form.
Enjoyed this?
Get the next deep dive in your inbox. No spam — just the stories worth reading.
Subscribe to the newsletter